
Exploring Lapis Lazuli: A Gemstone with a Ric ..
Apr 27 - 2024
It's no secret that
some people struggle with makeup application, despite dedicating much of their
time to learning from top makeup artists or online resources and staying
updated on the latest techniques and products. Surprisingly, their skills still
need assistance, despite becoming proficient in applying foundation, blush, and
contouring.
However, the area
where they still need significant assistance is with eye makeup. Makeup artists
often remind them that their downward-turning and slightly hooded eyes pose
challenges when following standard eye makeup tutorials, making it particularly
difficult to achieve desired results.
It is important to
understand the steps for doing proper eye makeup yourself before the party
season of the year. The steps include:
1.
Preparing the Eyes:
Preparing the
eyelids is a step that, without a doubt, some people never taken before doing
their eye makeup. It seems that prepping your eyelids is an actual
thing—something people really do. Remember that establishing a clean, even base
for your eyeshadow can significantly impact blending and the final result.
Ensure your eyelids are clean and ready by prepping them with either a
concealer or an eyelid primer.
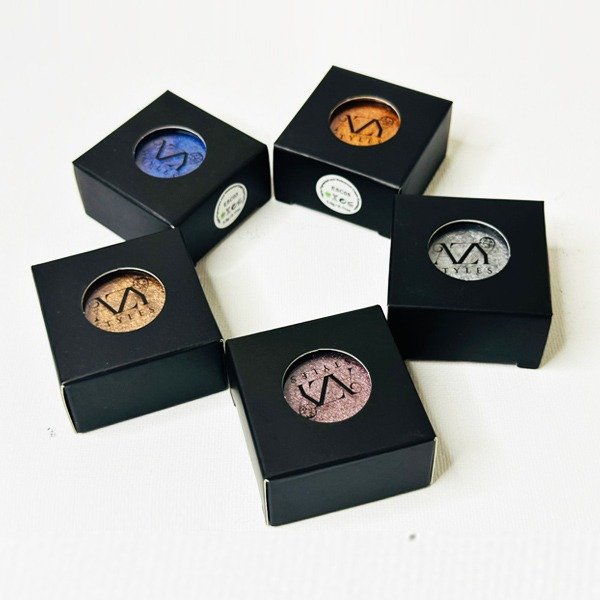
2. Eye Shadow:
Most you have a
collection of eyeshadow palettes faced with so many choices like a multiple-choice
question and you get lost and you become unsure where to start. To cut it short
you can simply achieve a stunning smoky eye with any shadows or palette, as
long as it can be used as light and darker shades both by applying small or one
stock or large amount or multiple strokes, so just any resonates eye shadow.
But for assurance the top palette having these properties tested we recommend
the Azy Styles Eye shadow palette.
Once you have selected your eye shadow start by applying it and go from light to darker according to your choice and skin tone suite.
3: Define the Crease:
Using a fluffy
blending brush, apply the mid-tone transition shade to the crease of the eyelid
in a windshield wiper motion. Blend seamlessly to create a soft transition
between shades.
4: Intensify with Darker Shade:
Concentrate the
deeper shade along the outer corner of the eyelid and into the crease, building
up color gradually for depth and dimension. Blend thoroughly to avoid harsh
lines.
5: Emphasize the Lower Lash Line:
Apply the same
deeper shade or a coordinating color along the lower lash line, connecting it
to the outer corner of the upper lid for a cohesive look.
Highlight and
Brighten: Use a light, shimmery eyeshadow shade to highlight the inner corners
of the eyes and the brow bone, adding luminosity and lift to the eye area.
6: Define with Eyeliner:
Line the upper lash
line with a black or dark brown eyeliner pencil or gel liner, staying close to
the lash line for subtle definition. For a more dramatic look, smudge the liner
slightly for a softer effect.
7:
Finish with Mascara:
Coat the upper and
lower lashes generously with Azy Styles mascara to lengthen, volumize, and
define the lashes, completing the smoky eye look with added intensity and
allure.
8:
Optional Touches:
Optionally, add
false lashes for extra drama, or use a waterproof eyeliner or setting spray to
ensure long-lasting wear throughout the day or night.
Apr 27 - 2024
Apr 23 - 2024
Apr 22 - 2024
Apr 22 - 2024